How to Install an Electric Cooktop in Different Countertop Materials
Highlights:
- Match the cutout to your exact cooktop model – templates and dimensions vary between models, so always cut based on the manufacturer’s specific template rather than a generic size.
- Confirm your electrical setup before cutting anything – most electric cooktops need a dedicated 240-volt circuit, and switching from gas often means bringing in an electrician first.
- Stone materials call for professional cutting – granite and quartz are heat-resistant but prone to cracking or chipping, so a fabricator with the right tools is usually worth the cost.
- Wood and tile counters need extra precautions – wood requires a heat-resistant barrier underneath due to fire risk, while tile cutouts should follow grout lines to avoid cracking.
- Sealing and clearance protect your investment long-term – proper heat clearance, food-safe sealant, and periodic checks on the seal and wiring help prevent warping, discoloration, and moisture damage over time.
Swapping out a gas range for an electric cooktop is one of those kitchen projects that sounds simple until you actually start measuring cutouts and thinking about wiring. The good news is that the process is very doable for most homeowners, even if you’re not a contractor. The tricky part isn’t the cooktop itself, it’s your countertop. Granite, quartz, laminate, butcher block, tile, and solid surface materials all behave differently when you cut into them, and each one has its own quirks when it comes to heat tolerance, cutout precision, and sealing.
This guide walks you through everything you need to know about installing an electric cooktop no matter what your counters are made of, plus a few reasons why so many people are making the switch to electric in the first place. Whether you’re finishing a full kitchen remodel or just replacing a worn-out range, the countertop material you’re working with should shape how you plan the project, not the other way around. We’ll go material by material so you know exactly what to expect before the first cut is made.
Why More Homeowners Are Choosing Electric Cooktops
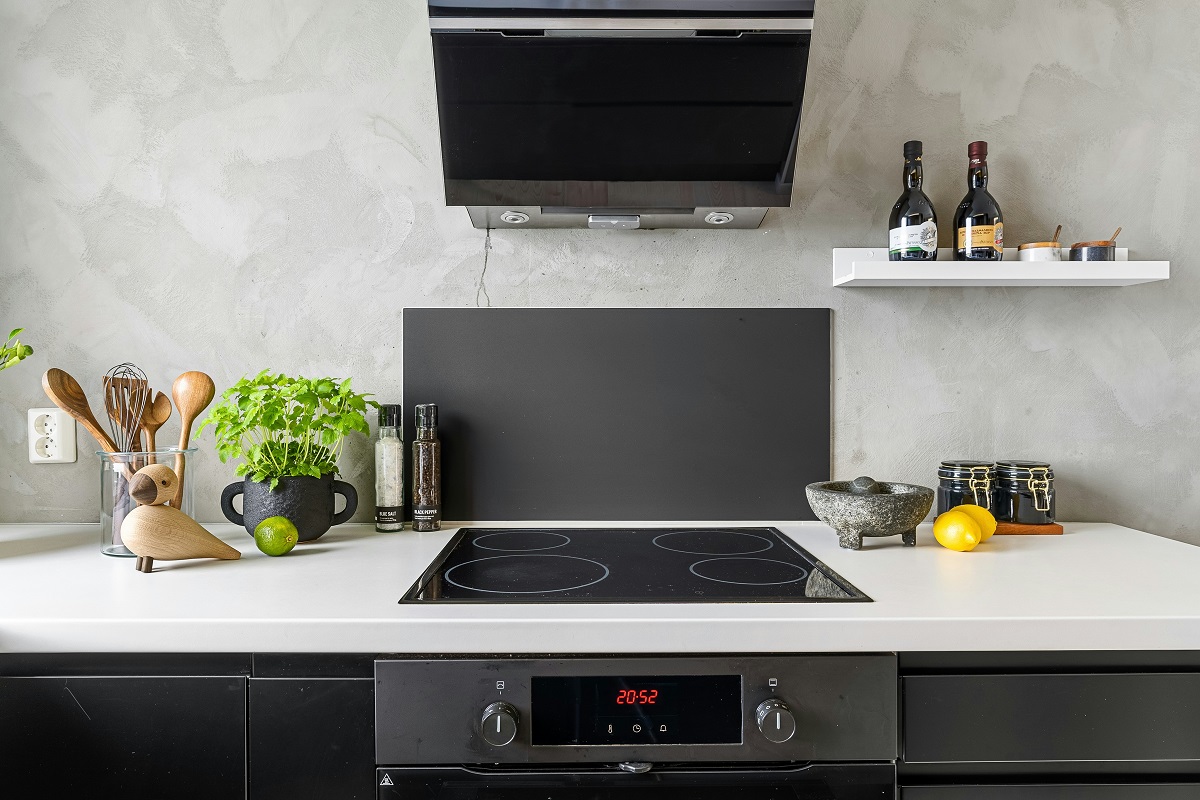
Electric and induction cooktops have quietly become the default choice in a lot of remodels, and it’s not just about aesthetics. According to a 2026 market analysis, the global induction cooking segment was valued at roughly 7.1 billion dollars this year, with growth largely driven by buyers who want appliances that use less power for the same cooking result. The same report notes that induction cooktops run about 30 percent more efficiently than a traditional gas burner, which adds up fast if you cook daily.
That efficiency angle is worth sitting with for a second. A gas stove loses a lot of energy to the air around the pot instead of into the food, while an electric or induction surface transfers heat almost directly to the cookware. For a household replacing an aging range, that’s one of the energy-efficient upgrades that make a real difference on a monthly utility bill, not just a marketing claim.
Beyond the efficiency numbers, homeowners tend to like electric cooktops because they:
- Heat up and cool down faster than older coil-style electric ranges
- Are easier to wipe clean, especially glass-top and induction models
- Don’t require a gas line, which opens up more layout options in a remodel
- Pair well with smart home features like touch controls and app-based timers
- Tend to have a sleeker, lower-profile look that works with modern countertop designs
If you’re already leaning toward electric for these reasons, the next step is figuring out how your specific countertop material affects the install.
What You Need Before You Start Installation
Before you touch a saw or a screwdriver, get your prep work sorted. Skipping this step is where most DIY cooktop installs go sideways.
- Read the manufacturer’s template. Every cooktop ships with a paper or cardboard cutout template. Use the exact one for your model, not a generic size, since clearance requirements vary.
- Confirm your electrical setup. Most electric cooktops need a dedicated 240-volt circuit. If your kitchen currently runs a gas line, you’ll likely need an electrician to run new wiring before you go further.
- Check cabinet clearance below. There needs to be enough room underneath for the cooktop’s junction box and any ventilation the manufacturer specifies.
- Gather your tools. Depending on the material, you’ll want a jigsaw or oscillating tool with the right blade, a drill, clamps, painter’s tape, a straightedge, safety glasses, and a shop vac for dust.
- Turn off power at the breaker. Even if you’re “just” cutting the counter, you don’t want live wires anywhere near your work area.
Once that’s handled, the actual cutting and mounting process depends heavily on what your countertop is made of.
Installing an Electric Cooktop on Granite Countertops
Granite is one of the more forgiving materials for a cooktop install because it’s naturally heat resistant, but it’s also one of the hardest to cut without professional equipment. Most granite cutouts for a cooktop are done before the slab is installed, so if you’re retrofitting an existing granite counter, plan on hiring a stone fabricator rather than doing it yourself.
A few things to keep in mind with granite:
- Fabricators typically use a wet saw with a diamond blade to avoid cracking the stone
- Rounded corners on the cutout are essential, since sharp corners are where granite is most likely to crack under stress
- Support brackets or clips usually anchor the cooktop from underneath rather than relying on adhesive
- Sealant around the cutout edge should be food-safe silicone, applied after the stone dust has been fully cleaned away
Because granite doesn’t flex and can’t be easily repaired if you crack it, this is one material where paying for a professional cutout is almost always worth the cost. If you’re replacing an existing cooktop and the current cutout is already the right size, you’re in luck, since you may not need to touch the stone at all. But if you’re upsizing from a smaller two-burner unit to a wider four-burner electric cooktop, budget extra time for a fabricator to visit, measure, and schedule the cutting separately from the actual install day.
Installing an Electric Cooktop on Quartz Countertops
Quartz is engineered stone, which means it’s more consistent than granite but slightly more sensitive to heat and impact during cutting. A poorly supported cut can cause chipping around the edges.
Here’s how a quartz cooktop installation typically goes:
- Mark the cutout using the manufacturer’s template, then double check measurements against the cooktop’s actual base, not just the glass top, since some models have a wider lip
- Use painter’s tape along the cut lines to reduce chipping, then score lightly before making the full cut
- Cut slowly with a diamond blade and keep the area wet if possible, since dry-cutting quartz creates fine dust that’s not great to breathe
- Sand the cut edges smooth before test-fitting the cooktop
- Secure the cooktop using the clips provided, then run a bead of heat-resistant silicone around the perimeter to seal out moisture
Quartz handles daily cooking heat fine once installed, but always confirm your cooktop’s minimum clearance to the backsplash, since some quartz colors show heat discoloration over time if a hot pan sits too close to the edge. It’s also worth noting that quartz manufacturers often have their own warranty rules around cutouts made near a heat source, so check whether cutting into the slab yourself voids any coverage before you start. A quick call to the supplier or installer who sold you the countertop can save you a headache if something goes wrong later.
Installing an Electric Cooktop on Laminate Countertops
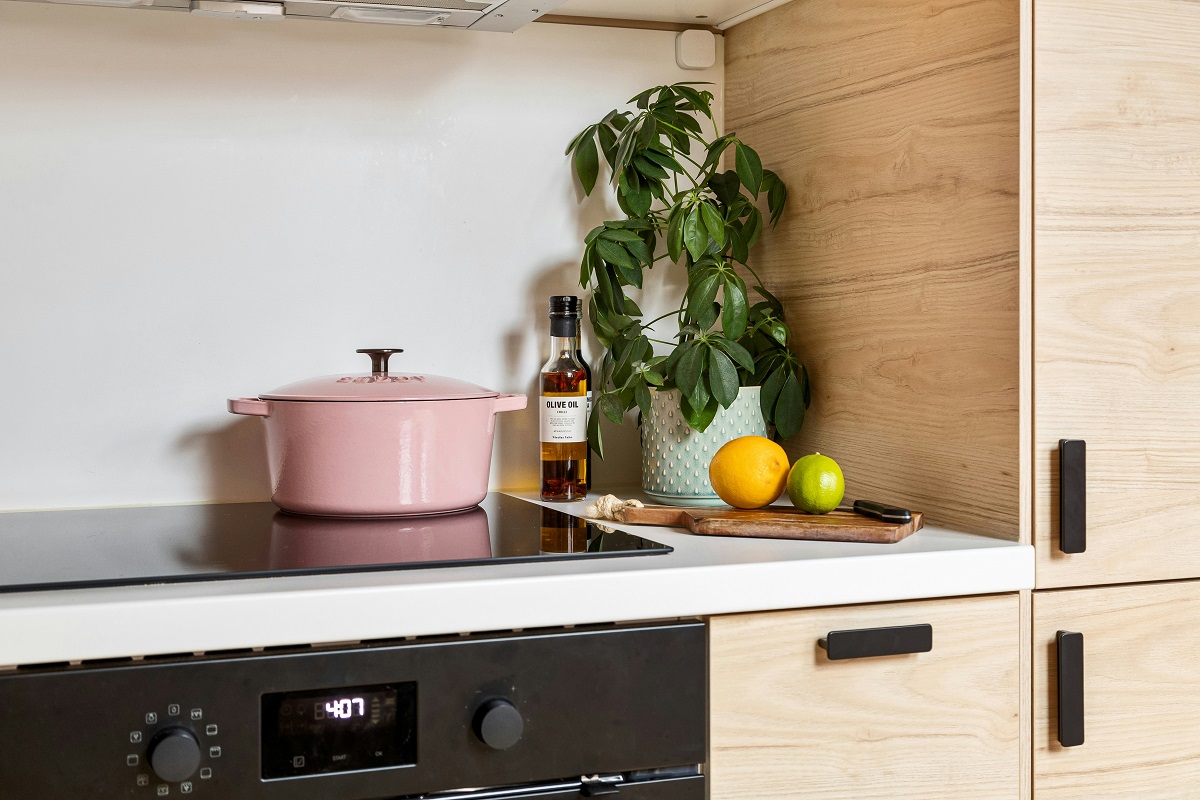
Laminate is the most budget-friendly countertop material and also the easiest to cut yourself, but it comes with the biggest heat caveat. Standard laminate can warp, bubble, or discolor if it’s exposed to sustained heat, so proper clearance and trim work matter a lot here.
Steps for a laminate install:
- Trace the template directly onto the laminate surface with a pencil, then drill a starter hole at each corner to make room for your jigsaw blade
- Cut along the lines with a fine-tooth jigsaw blade, moving slowly to avoid chipping the laminate’s top layer
- Check that the cooktop’s manufacturer allows installation on laminate at all, since some high-heat induction models specifically require a heat-resistant or non-combustible surface underneath
- Install a metal trim ring if your cooktop uses one, since it helps protect the exposed laminate edge from moisture and heat
- Leave the manufacturer’s specified clearance between the cooktop’s edge and any raised backsplash
If your laminate counter is older or already showing wear, this is a good moment to think about whether replacing a section near the cooktop makes sense, since heat damage on laminate isn’t really repairable. Laminate is also the material where corner support matters most during the cut, since the top decorative layer can peel away from the particleboard core if the blade catches at the wrong angle. Going slow around corners, and backing the cutout piece with a scrap board as you finish the last cut, keeps everything intact.
Installing an Electric Cooktop on Butcher Block or Wood Countertops
Wood countertops are popular for their look, but they’re the trickiest material to pair with an electric cooktop because wood combusts, warps, and stains from heat exposure far more easily than stone or laminate. Many cooktop manufacturers explicitly require a non-combustible barrier between the appliance and a wood surface.
If you’re set on wood counters, here’s what the install usually involves:
- Installing a heat-resistant underlayment, such as a cement board or metal sheet, cut to match the cooktop’s footprint and mounted beneath the wood cutout
- Cutting the wood slightly larger than the cooktop’s minimum spec to leave a safety margin for heat radiation
- Sealing all cut edges with a food-safe, heat-tolerant sealant to stop moisture from seeping into the end grain
- Checking local building codes, since some jurisdictions have specific requirements for combustible countertop materials near cooking appliances
- Avoiding cooktop models that run extremely hot at the surface level, since even a heat barrier has limits
Because of the fire risk, this is one material where it’s worth talking to a licensed contractor before you commit, even if you’re comfortable doing the cutting yourself.
Installing an Electric Cooktop on Solid Surface Countertops
Solid surface materials, like acrylic-based countertops, are easier to work with than stone since they cut more like a hard plastic, but they still have heat limits that vary by brand and thickness.
A typical install looks like this:
- Use a router or jigsaw with a fine blade, since solid surface material can melt slightly if the blade moves too fast and generates friction heat
- Support the cutout piece from below as you finish the cut so it doesn’t snap off unevenly
- Sand the edges to a smooth finish, since solid surface material can be reshaped easily compared to stone
- Confirm the manufacturer’s heat clearance rating, since some solid surface brands need a slightly wider gap around cooktops than granite or quartz
- Apply the recommended adhesive or clips, then let any adhesive cure fully before using the cooktop
Solid surface counters are also one of the few materials where minor edge imperfections can be buffed out later, which takes some of the pressure off getting the first cut absolutely perfect.
Installing an Electric Cooktop on Tile Countertops
Tile countertops are less common in newer kitchens but still show up in older homes, and they present a unique challenge because the cutout has to account for both the tile and the grout lines around it.
Here’s the general process:
- Plan the cutout so it falls along grout lines where possible, since cutting through the middle of a tile is more likely to cause cracking
- Use a wet tile saw or an angle grinder with a diamond blade for the actual cut
- Reinforce the substrate underneath if it’s plywood or backer board, since tile counters typically sit on a subsurface that also needs to be cut cleanly
- Seal the cut tile edges with grout or a matching sealant to prevent water intrusion around the cooktop
- Double check that the cooktop sits flush, since uneven tile height around the cutout can create gaps that trap moisture and food debris
Tile is one of the more time-consuming materials to work with, mostly because of the extra step of dealing with the substrate layer underneath.
Common Mistakes to Avoid During Installation
A few mistakes show up again and again across all countertop types, regardless of material:
- Cutting the opening before confirming the cooktop’s exact model dimensions, since even similar-looking models can have different cutout requirements
- Skipping the electrical inspection, especially when converting from a gas setup to electric
- Forgetting to account for cabinet or drawer clearance underneath the cooktop
- Using the wrong sealant, which can crack or discolor under repeated heat exposure
- Rushing the cut without support, which leads to chipped edges on stone and engineered materials
Taking an extra hour to measure twice really does save a lot of frustration later. It’s also worth walking through the install with the cooktop’s actual power cord and connector on hand before you finalize anything, since some models have a fixed cord length that limits how far the unit can sit from the junction box below. Discovering that mismatch after the counter is already cut is a much bigger problem than catching it beforehand.
Maintenance Tips After Installation
Once your cooktop is in place, a little routine care keeps both the appliance and the countertop looking good for years.
- Wipe up spills while they’re still warm rather than letting them bake onto the glass or metal surface
- Re-check the silicone seal around the cutout every year or so, since it can shrink slightly over time
- Avoid dragging heavy cookware across stone or solid surface counters near the cooktop edge
- Use cookware that matches your cooktop type, since induction models specifically need magnetic-bottomed pans
- Keep an eye on any discoloration near the cutout, which can be an early sign that heat clearance wasn’t quite wide enough
- Schedule a quick check of the electrical connection every couple of years, especially if the cooktop is used heavily, since loose wiring at the junction box is a common cause of flickering controls or uneven heating
- Clean underneath the cooktop’s edge trim occasionally, since crumbs and grease can build up in that gap and eventually affect the seal
Wrapping It Up
Installing an electric cooktop isn’t a one-size-fits-all job, and the material under your hands matters just as much as the appliance itself. Granite and quartz call for precision cutting and professional tools, laminate and solid surface are more forgiving for a confident DIYer, and wood or tile counters need extra planning around heat and moisture. Whichever material you’re working with, matching the cutout to your cooktop’s exact specs and giving yourself proper clearance will save you headaches down the road. Take your time, follow your cooktop’s manual closely, and you’ll end up with a setup that looks clean and works reliably for years. And if a step ever feels beyond your comfort level, whether that’s the electrical hookup or a tricky stone cut, bringing in a professional for just that part is a reasonable middle ground between a full DIY job and a full-service installation.